Explore Borrower API
In your browser, navigate to the
Create a BorrowerAPI documentation:http://localhost:3000/hexyback-workshop/docs/hexy/create-a-borrowerModify the sample request body:
{
  "name": "ben",
  "email": "ben.bowers@journeyone.com",
  "dob": "1999-01-01",
  "creditScore": 500
}
Copy the
curlrequest, replacinghttp://localhost:3000with the URL of your deployed API endpoint -apiEndpoint:✔ Deployed:
ConfigStack
# Use the URL shown below
apiEndpoint: https://xxxxxxx.execute-api.ap-southeast-2.amazonaws.com/prod/Paste the
curlrequest into your terminal and hitEnter:curl -L -X POST 'https://xxxxxxx.execute-api.ap-southeast-2.amazonaws.com/prod/borrower' \
-H 'Content-Type: application/json' \
-H 'Accept: application/json' \
--data-raw '{
"name": "ben",
"email": "ben.bowers@journeyone.com",
"dob": "1999-01-01",
"creditScore": 500
}'Navigate to the AWS Lambda console and select the
CreateBorrowerProfilelambda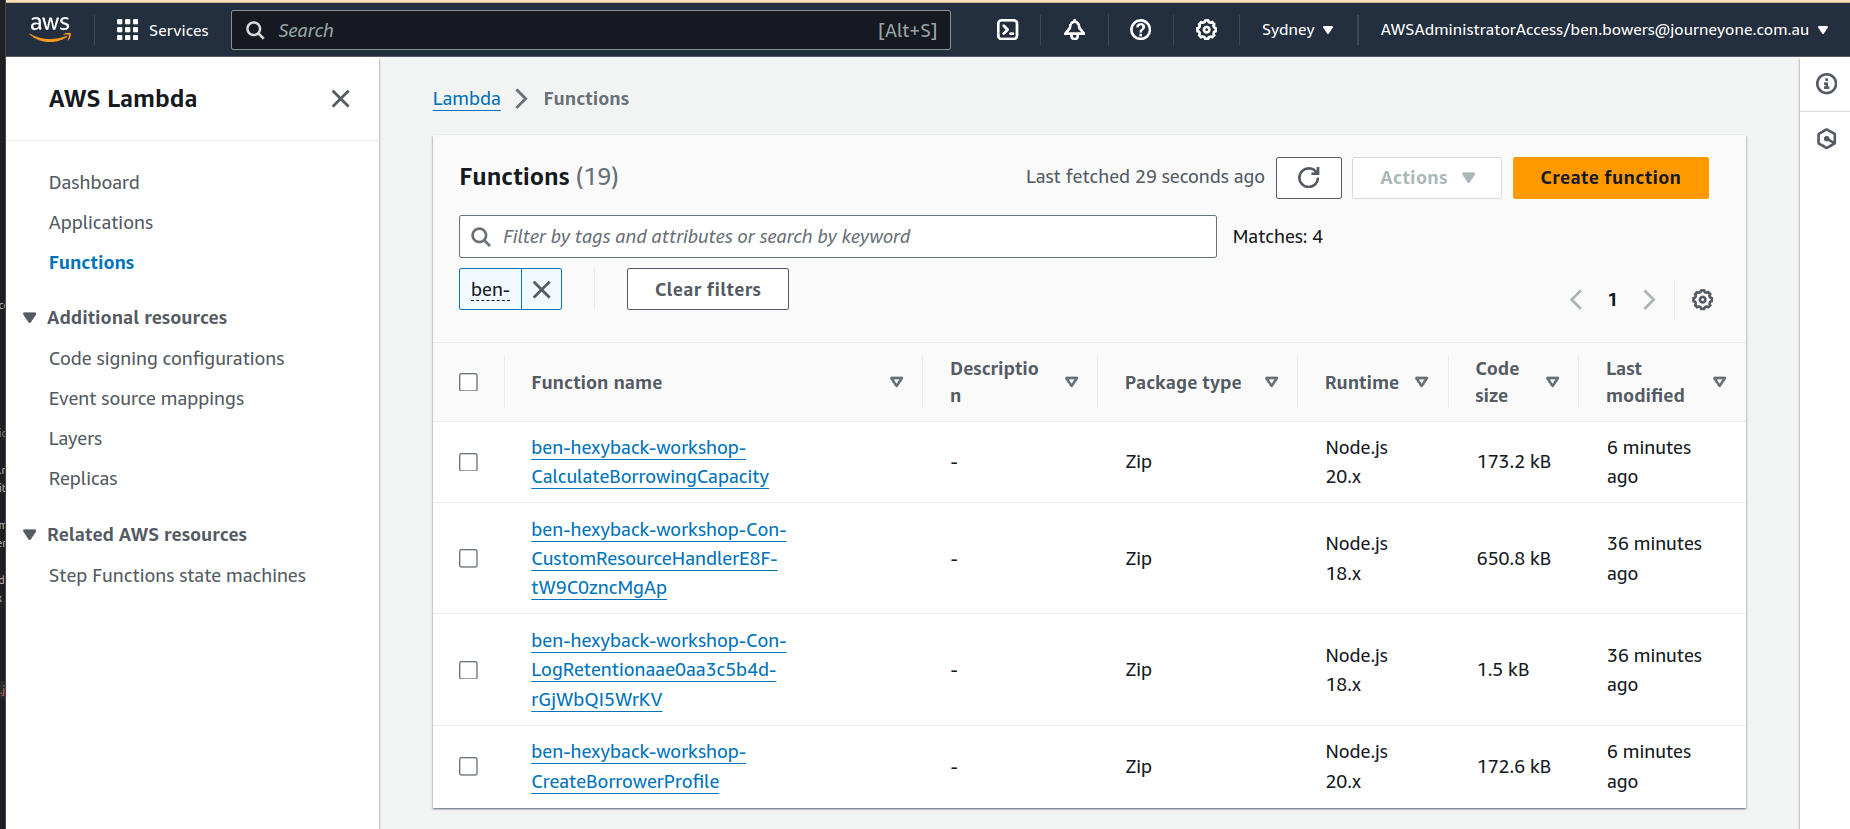
Navigate to the
Monitortab: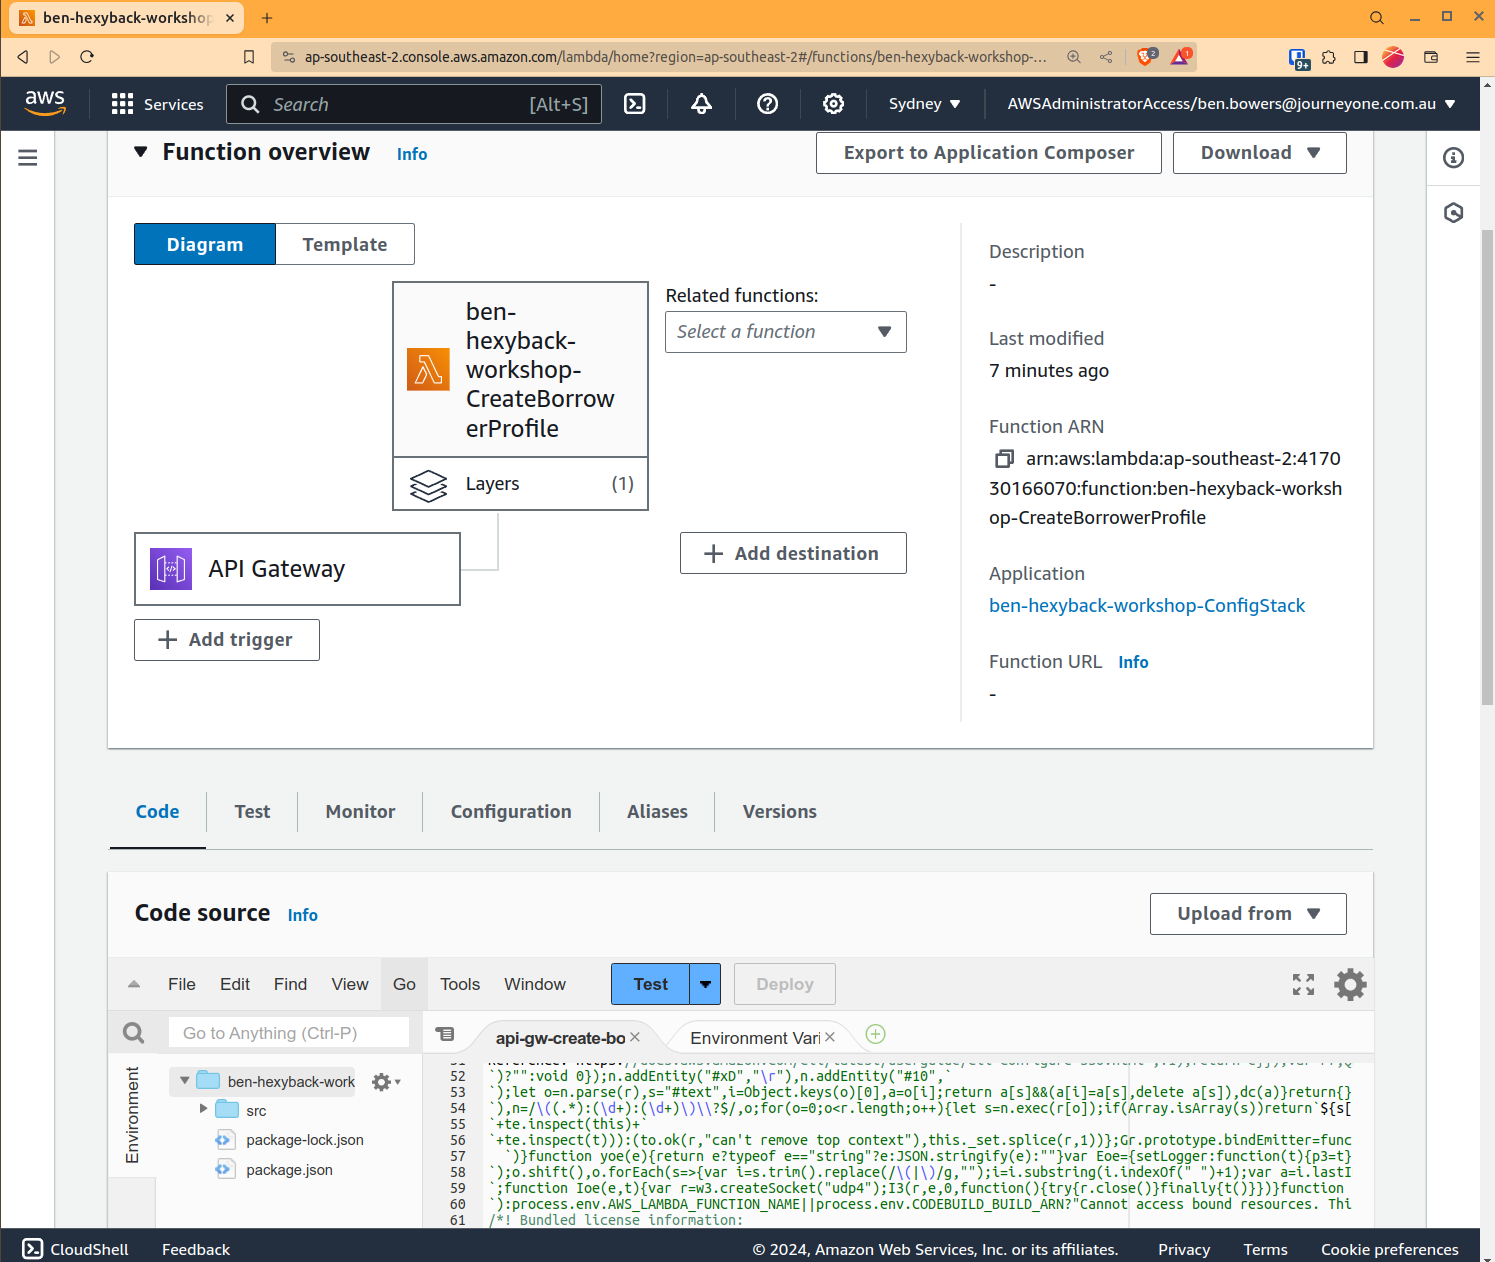
Click on the first entry in the
Tracestab: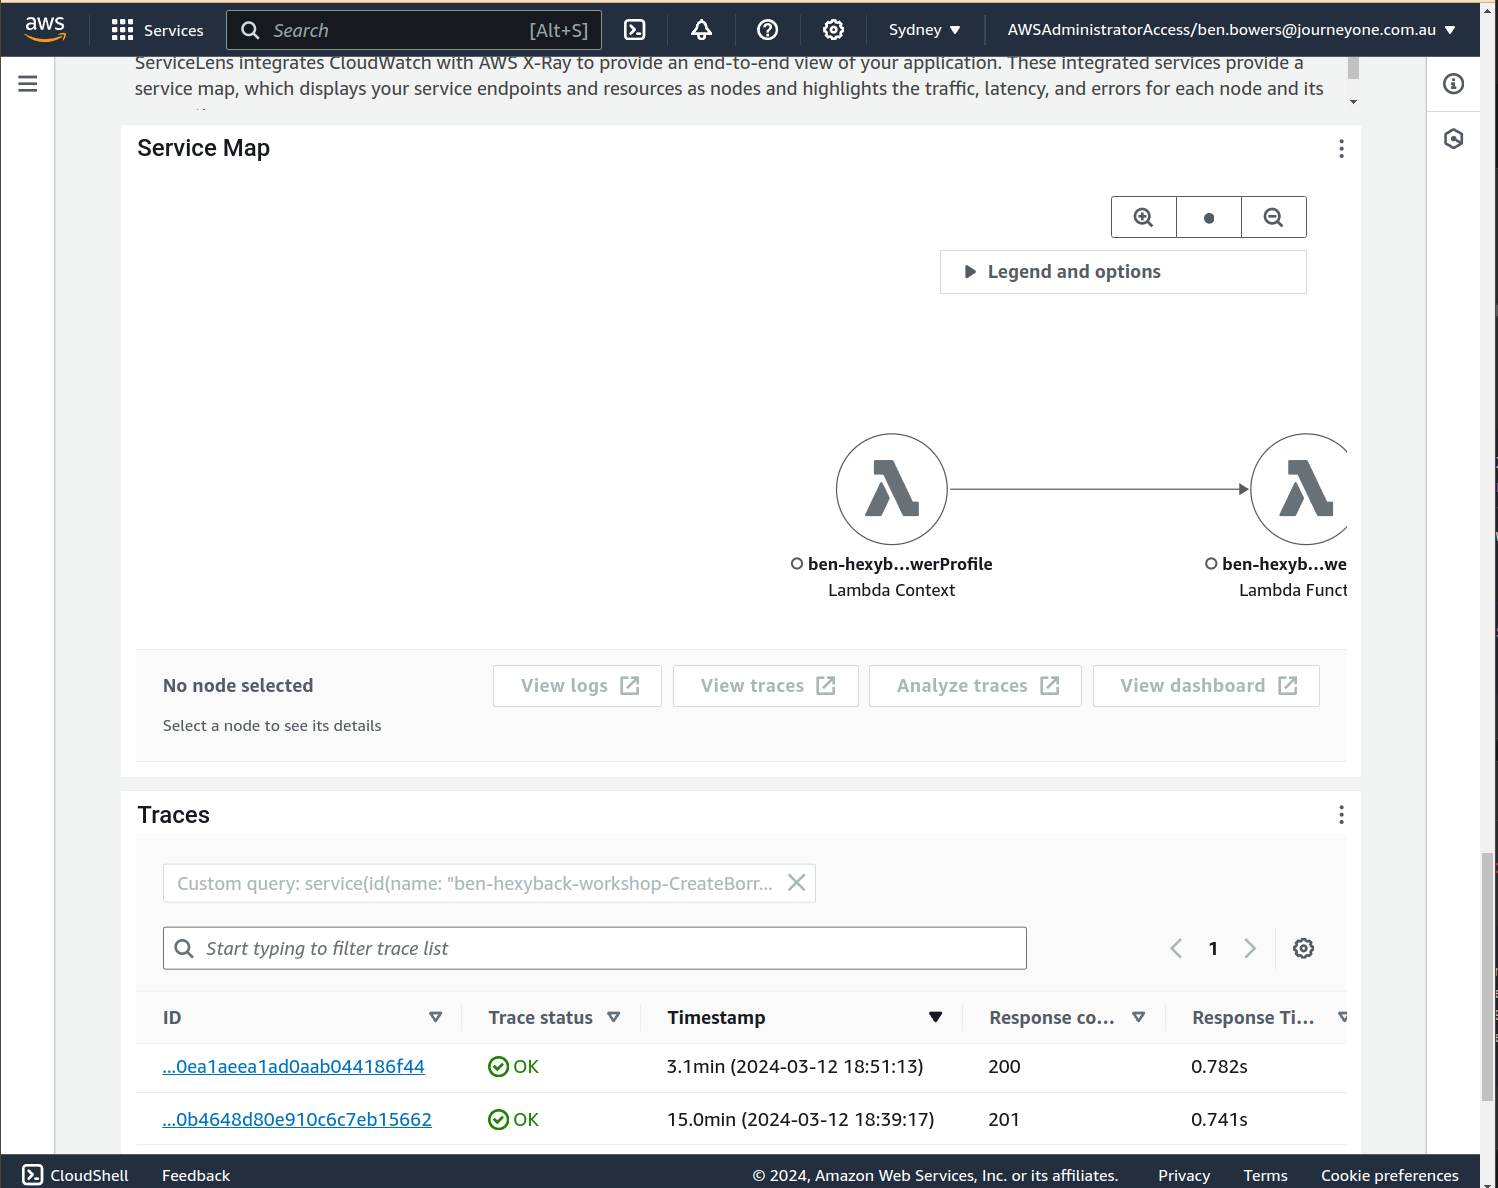
Observe the traces shown. You'll notice two calls:
- A call to (attempt) to get the borrower profile
- A call to put the borrower profile
Exercise:
- Attempt to create the same borrower. What happens? Observe the traces to confirm your assumptions.